
Understanding Night Sky Photography

You’ve gazed at Dades Valley’s night sky, captivated by its magic. Now, imagine capturing that celestial wonder with just a click. Welcome to night sky photography, where you’ll transform the cosmos into your personal masterpiece. With our guide, you’re not just observing the stars, you’re seizing them, turning fleeting moments into everlasting memories. So, grab your camera, it’s time to paint with light and embrace the freedom of the night. The universe is waiting, let’s dive in together.
Before diving into the practice of night sky photography, it’s crucial for you to understand what it entails and why it’s so special, particularly in the context of Dades Valley. The allure of Dades Valley night sky photography lies not just in capturing the twinkling stars and celestial bodies, but also in the process that allows you to connect with nature and the universe in a profound way.
The first step in enhancing your photography skills for stargazing is to appreciate the raw beauty of the night sky. Look up, take in the vast expanse of the cosmos, the twinkling constellations, and the ethereal glow of the Milky Way. This isn’t just about taking pictures; it’s about immersing yourself in the silent symphony of the universe.
Night sky photography tips often suggest using long exposures and high ISO settings. However, it’s not just about technicalities. It’s about patience, observation, and a sense of wonder. Remember to let the night sky tell its story, and you, as a photographer, are there to capture it.
Essential Equipment for Astrophotography
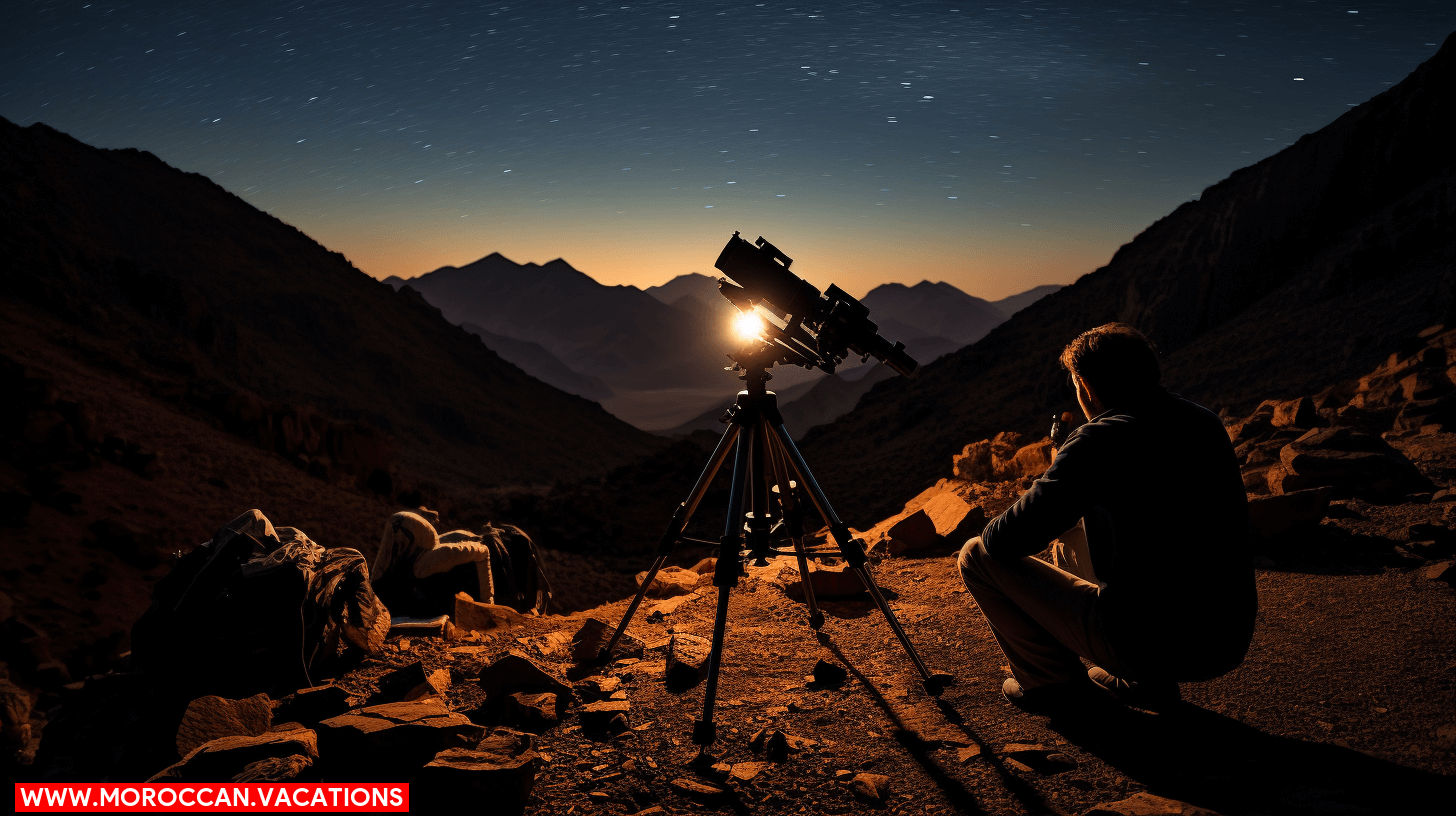
Now, let’s gear up and delve into the essential equipment you’ll need for astrophotography in Dades Valley. This is your passport to capturing celestial beauty, a unique chance to record the celestial wonders in Morocco with your own hands.
First off, a sturdy tripod is a must. It’s your rock in the swirling sea of stars, keeping your camera steady as it gazes upwards. A DSLR or mirrorless camera brings the universe into your grasp, capable of long exposures to collect those precious photons of starlight.
Next, you’ll need a wide-angle lens. This is your window to the expansive star-studded canvas, capturing the grandeur of the Milky Way as it arches over the jagged peaks of Dades Valley.
Don’t forget a remote shutter release to avoid camera shake, and extra batteries to keep your camera’s eye open through the long, cold night.
Lastly, a headlamp with a red light will keep your night vision sharp while setting up and adjusting your equipment.
Armed with these tools, you’re now ready to step into the darkness, to claim your slice of the infinite and the eternal, to capture the intoxicating freedom of the night sky.
Setting Up in Dades Valley
Armed with your essential gear, you’re ready to set up in Dades Valley, a prime location for capturing the majestic night sky. This remote Moroccan valley offers an unobstructed view of the heavens, making it an ideal canvas for your celestial artistry.
Here’s a quick rundown to help you set up effectively:
- Scout the Terrain: Understand the lay of the land before nightfall. Look for vantage points that offer a clear view of the sky.
- Safety First: Ensure your chosen spot is secure and away from potential hazards.
- Composition Matters: Consider how the landscape will complement your celestial shots.
- Set Up Your Gear: Once you’ve chosen your location, it’s time to unpack and set up.
- Stability: Ensure your tripod is sturdy and level for clear, sharp images.
- Lens and Settings: Choose the right lens and adjust your camera settings for optimal results.
- Plan Your Shots: The night sky is ever-changing, so plan your shots to capture the best displays.
- Star Trails or Milky Way: Decide what celestial sights you want to capture.
- Timing: Track the moon phases and weather conditions to predict the best nights for photography.
Composing Stellar Photographs
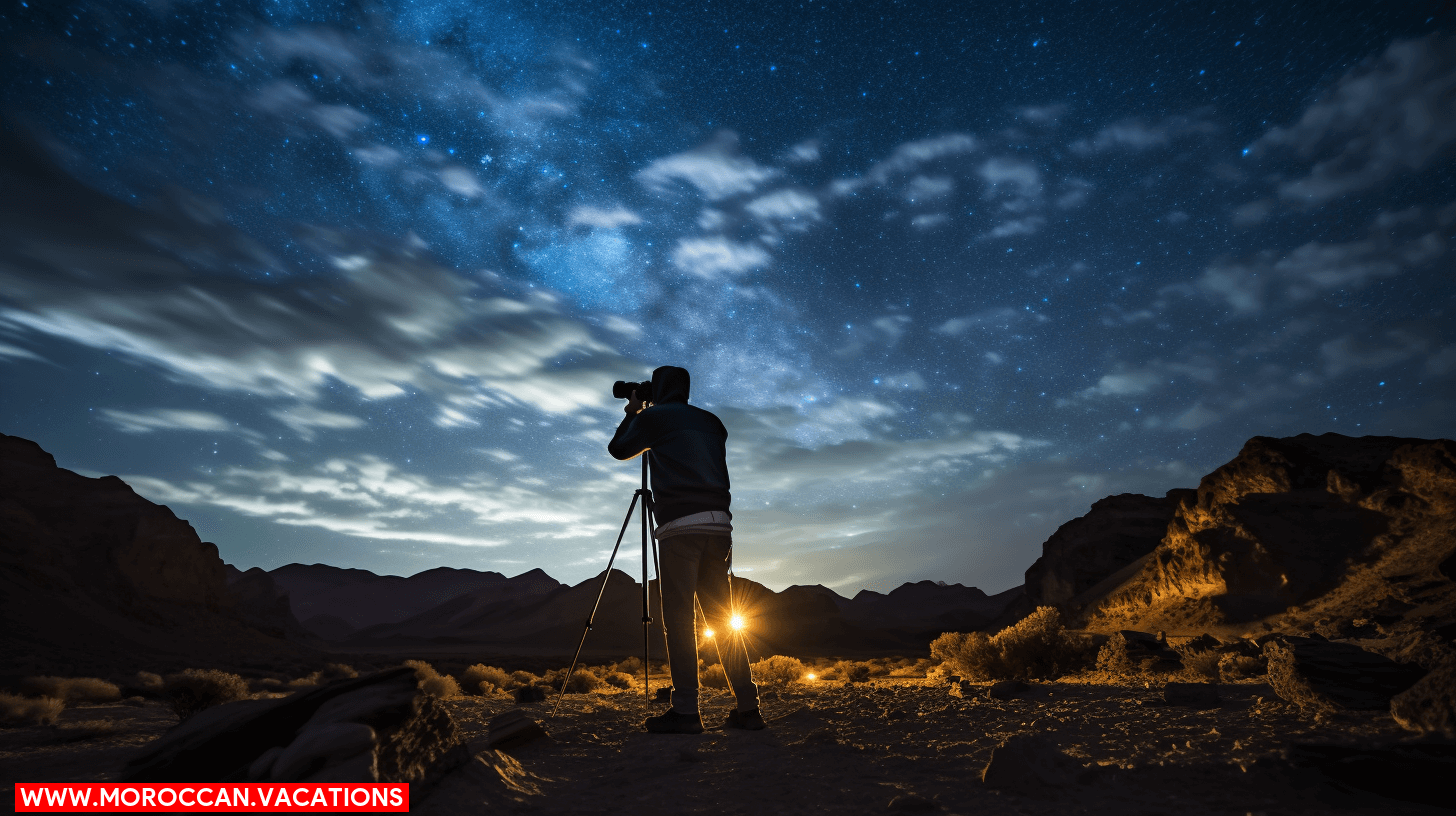
Dive into the art of composing stellar photographs by focusing on the elements that will make your night sky images truly mesmerizing. The first key aspect to consider is your framing. Use the mountains, trees or any other elements in the valley as a foreground to add depth and perspective to your shots.
Next, don’t be afraid to experiment with exposure settings. Longer exposures can capture stars’ trails and the Milky Way’s ethereal glow, while shorter ones will freeze the stars in their tracks, showcasing their piercing brilliance against the inky blackness.
Remember, it’s not just about the stars. Incorporating elements like the moon, planets, or even a passing comet can add a striking focal point to your composition.
Finally, don’t forget the rule of thirds. This classic composition guideline can be a game changer in your night sky photography. Place your horizon on one of the imaginary lines dividing your frame into thirds for a balanced, aesthetically pleasing shot.
Post-Processing Night Sky Images
After your night-long photo shoot, it’s time to dive into the post-processing stage where your raw images transform into breathtaking masterpieces. This is where your creativity truly shines, and you’re free to guide your images to reach their full potential.
Here’s a basic workflow to help you get started:
- Start with basic adjustments:
- Exposure: Ensure your stars stand out by tweaking the exposure. Be careful not to lose detail in the darker parts of the image.
- White balance: Adjusting this will help to accurately portray the night sky’s colors. Remember, there’s no perfect setting—choose what appeals to your artistic sense.
- Move on to more advanced techniques:
- Noise reduction: This helps to clean up the image, reducing any graininess caused by high ISO settings.
- Star enhancement: Techniques like star reduction can make your stars pop against the inky blackness of the night sky.
- Lastly, don’t be afraid to experiment:
- Try different editing software: Each has its own unique features and capabilities.
- Play around with filters and effects: These can add a surreal touch to your images.
Embrace the freedom of post-processing. This is where you bend reality to your will, creating images that capture the awe-inspiring beauty of Dades Valley’s night sky.
Troubleshooting Common Challenges
While you’re experimenting with different post-processing techniques, you might encounter a few challenges along the way. Noise, for instance, can be a nuisance. It’s the grainy, speckled effect that can tarnish your image’s clarity, particularly in low-light conditions. The solution? Lower your camera’s ISO setting, or use noise reduction software during post-processing.
Stars can sometimes appear as streaks rather than sharp points of light. This is due to the Earth’s rotation during the long exposure times necessary for night sky photography. To overcome this, employ the ‘500 rule’: divide 500 by your lens’s focal length to find the maximum exposure time before stars begin to trail.
Then there’s focus. Achieving sharp focus at night can be trickier than during daylight. Your camera’s autofocus might struggle. Don’t be disheartened. Switch to manual focus, use a wide aperture, and focus on a bright star or the moon.
Samira Amrani
The passionate author behind Moroccan Vacations, sharing her expertise and love for Moroccan culture, cuisine, and travel experiences to inspire wanderlust in every reader.
Related Articles
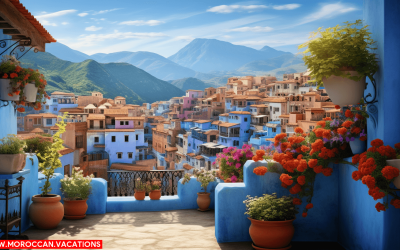
Lens on Nature: Hiking Trails in Chefchaouen for Photographers
Blue Alley: Capturing the Charm of Chefchaouen Photo by: @dunjasadaqi - Instagram Are you ready to immerse yourself in the breathtaking beauty of Chefchaouen? Lace up your hiking boots and grab your camera because this article is your ultimate guide to exploring the...
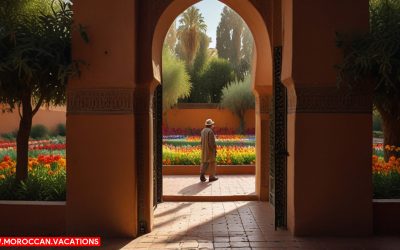
A Photographer's Delight: Capturing the Beauty of Marrakesh's Gardens
The History and Significance Discover the rich history and profound significance behind Marrakesh's stunning gardens as you delve into the secrets they hold. Marrakesh, the vibrant city in Morocco, boasts a unique blend of history and culture, evident in its...
A Photographer's Paradise: Exploring Scenic Hiking Trails Ideal for Photography in Chefchaouen
The Trail of the Blue City Step into a picturesque paradise, where scenic hiking trails await your lens. In Chefchaouen, a photographer's dream come true, you'll find hidden gems that will ignite your creativity. From the mesmerizing Trail of the Blue City to the...